Running electrical wiring through finished walls can be a challenging task, but with the right tools and knowledge, it’s possible to safely complete the project on your own. Whether you’re upgrading an electrical system, adding new outlets, or rewiring for an appliance, understanding the basics of how to run electrical wiring is essential. Not only do you need to follow the correct procedures to avoid damage to your home or injury, but you also need to ensure the work complies with local building codes and safety standards.
In this guide, we’ll walk you through the steps to run electrical wiring through finished walls, including tips for preparation, safety, and choosing the right tools for the job.
1. Plan Your Project
Before diving into any electrical work, careful planning is essential. You’ll need to know exactly where the wiring needs to go and ensure that you have access to the correct areas of the wall. This will help you avoid unnecessary damage to your finished walls. Start by identifying the location of the outlets, light fixtures, or switches that will be connected to the new wiring.
Take note of the locations of studs and other obstacles that could interfere with your wiring. Stud finders are helpful tools to locate studs behind drywall. It’s also essential to check for other things hidden in the wall, such as pipes, HVAC ducts, or previous electrical wiring. Once you’ve mapped out the layout of your wiring, you’ll be ready to begin.
2. Turn Off Power and Safety Precautions
This step is non-negotiable when dealing with electrical wiring. Make sure you turn off the power at the electric breaker before starting any electrical work. This will prevent the risk of electrical shock while you work. Double-check that the power is off by using a voltage tester on the existing wiring. It’s also a good idea to wear rubber-soled shoes and use insulated tools to add an extra layer of protection.
Safety glasses and gloves are highly recommended to protect yourself from any debris or accidental scrapes that may occur while working. Remember, safety should always be your top priority when handling electrical systems.
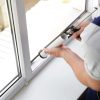
3. Cut Openings in the Wall
Once you’ve marked the areas where you need to run the wiring, it’s time to cut small openings in the wall. For most projects, you won’t need to cut large sections of drywall. Instead, you’ll create openings near the electrical box and any new outlets or switches. Use a drywall saw or utility knife to make clean cuts around your marked areas.
If you’re installing a new outlet or switch, make sure to cut an opening large enough to accommodate the new box. This will be where you’ll connect the new wiring to the electrical system. Be sure not to cut too large of a hole, as you will need to repair the wall once the wiring is in place.
4. Drill Holes in the Studs
In order to run the wiring through the wall, you’ll likely need to drill holes through the studs to guide the wire from one point to another. These holes should be large enough to accommodate the wire but not too big that they compromise the integrity of the studs. Use a power drill and the appropriate bit to drill holes through the center of each stud where the wiring will pass.
When drilling, ensure that the holes are as straight as possible to avoid creating sharp angles in the wiring, which could potentially lead to wear and tear over time. You can also use a fish tape to guide the wiring through these holes once they’re drilled.
5. Use Fish Tape to Pull the Wiring
Fish tape is an essential tool for pulling wire through the wall. It’s a long, flexible metal or fiberglass tape that helps guide electrical wires through the holes you’ve drilled in the studs. Insert the fish tape into the opening at the starting point, and push it through until it comes out of the opening at the destination. Once the fish tape has reached the other side, attach the wiring to it and carefully pull the wire back through the studs.
Be patient during this step, as pulling wires through walls can sometimes be tricky. If you encounter any resistance, check the path of the wire to ensure there are no sharp bends or obstacles that could impede the wire’s movement. Once the wire has been pulled through, leave enough slack on both ends to connect the wiring to the electrical outlets or switches.
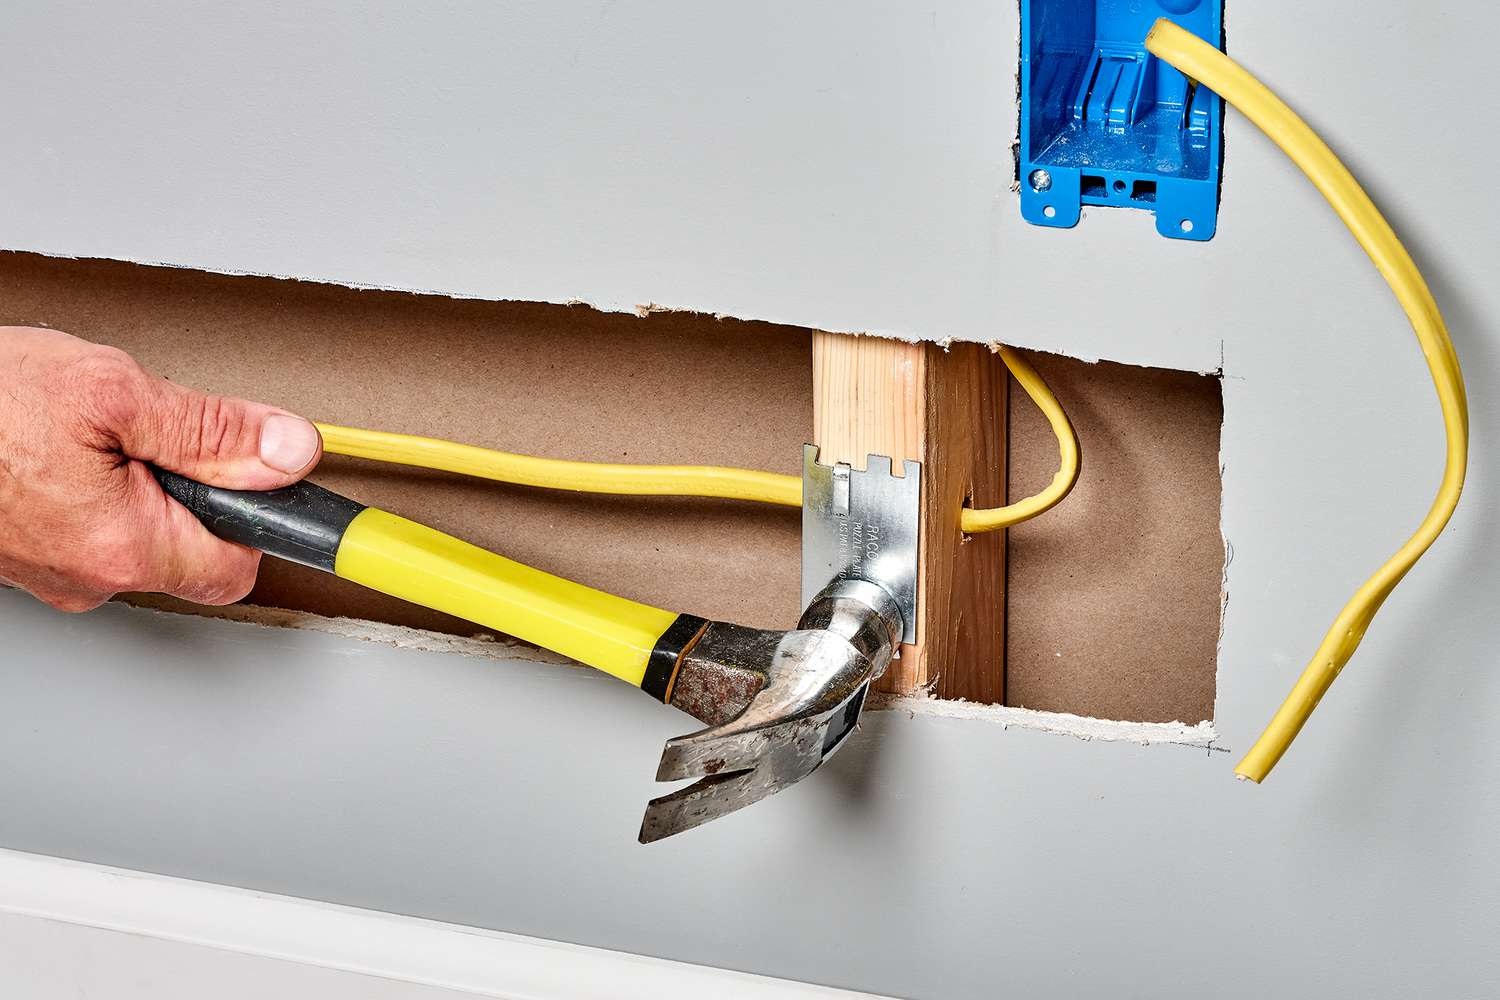
6. Secure the Wiring
After the wiring has been pulled through the wall, you’ll need to secure it to the studs. This will prevent the wire from sagging or getting damaged over time. Use wire staples or clamps to fasten the wire to the studs at regular intervals, but be sure not to overtighten the staples, as this could damage the wire insulation.
When securing the wire, ensure that it’s positioned well within the wall cavity, so it’s out of the way of any future work or renovations. The wire should never be exposed to the outside of the wall, as this can create a fire hazard.
7. Connect the Wiring to the Electrical Box
Now that your wiring is in place, it’s time to connect it to the electrical box. Strip the insulation from the ends of the wires using a wire stripper, and then connect the wires to the appropriate terminals in the box, whether it’s for a new outlet, switch, or light fixture. Be sure to match the colors of the wires correctly, with black or red wires connecting to the brass terminals and white wires to the silver terminals.
If you’re working with a 3-wire circuit, it’s important to properly connect the ground wire (green or bare) to the grounding screw in the electrical box. Ensure the wires are securely connected and free of frays or exposed copper that could cause a short circuit.
8. Test Your Work
Once everything is connected, it’s time to turn the power back on at the electric breaker. Test the circuit using a voltage tester to confirm that the wiring is functioning correctly. If you’re installing new outlets or switches, plug something in to ensure that the electricity is running smoothly. If everything seems to be working as expected, you can proceed to repair the holes in the wall.
9. Patch and Paint the Wall
After the wiring is completed and functioning, you’ll need to patch up the holes you cut in the drywall. Use joint compound to fill the holes, and once dry, sand the surface smooth. After the patched areas are smooth, apply paint that matches the existing wall color to blend the repairs seamlessly with the rest of the room.
Conclusion
Running electrical wiring through finished walls can seem like a daunting task, but with the proper preparation, tools, and safety measures, it’s definitely manageable. From planning your layout to testing your work, each step is crucial to ensuring the job is done right. Always remember to follow safety guidelines, consult an electrician if you’re unsure, and take the time to properly secure the wiring for a long-lasting and safe installation.